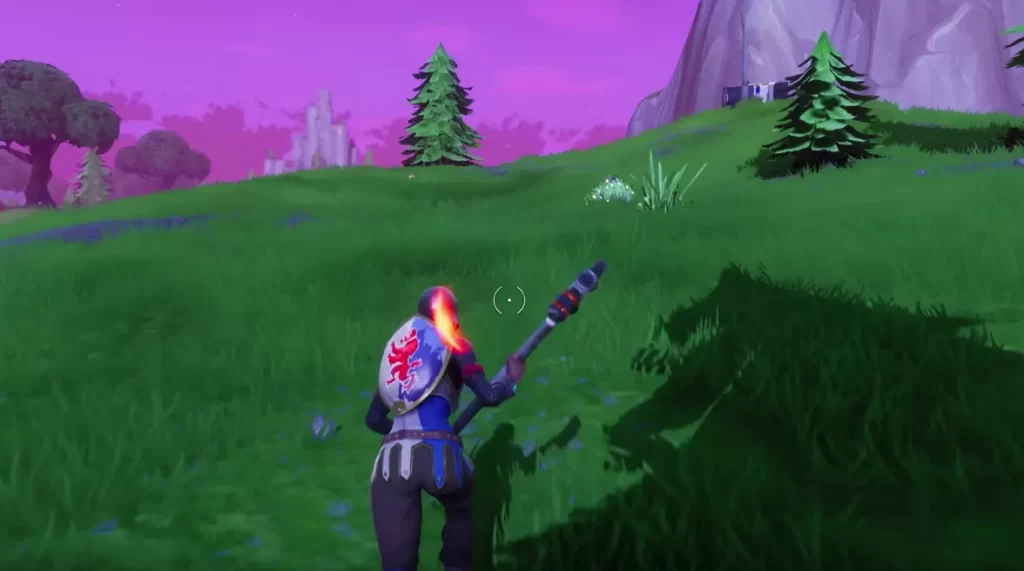
Fortnite is one of the most popular and addictive games in the world, with millions of players competing in various modes and maps. However, enhancing your gaming experience involves tweaking various settings to eliminate performance issues, including lag and frustrating freeze screens. One critical adjustment focuses on removing grass from the game, as it tends to consume a significant amount of graphics, leading to screen freezes and sluggish movement. In this guide, we will show you how to remove grass in Fortnite using 2 different methods and settings.
To address the grass-related performance issues in Fortnite, follow these steps carefully. Keep in mind that this process is only applicable to PC users, as it involves accessing the file “GameUserSettings.ini“.
Table of Contents
Remove grass in Fortnite using “bShowGrass” property
You need to find the game’s folders so you can access the file “GameUserSettings.ini“.
Navigate to the AppData Folder
- Press the Windows key + R to open the run window.
- Type “appdata” into the box and click “OK.”
- In the program files window, select the “Local” folder.
- Look for “Fortnitegame” among the folders inside.
Follow the Path to Remove Grass
- Continue navigating through the folders by following this path: Saved > Config > WindowsClient.
- Locate the file named “GameUserSettings.ini” inside the WindowsClient folder.
- Right-click on “GameUserSettings.ini” and select “Properties.”
- In the properties window, uncheck the “Read Only” option.
- Click “Apply” and then “OK.”
Edit the GameUserSettings File
- After applying the changes, open the “GameUserSettings.ini” file with Windows Notepad.
- Search for the code “bShowGrass,” which will likely be set to “True.”
- Modify it to “False.”
- Close Notepad and return to the file properties.
- Recheck the “Read Only” box to save the new settings.
- Click “Apply” and then “OK.”
Enjoy Improved Performance
With these adjustments in place, open Fortnite and experience the game without grass, leading to better overall performance. These modifications contribute to a smoother gaming experience, reducing lag and freeze screens.

Remove grass in Fortnite by changing “sg.FoliageQuality” value
You can also edit the “GameUserSettings.ini” file in your local app data folder and change the value of “sg.FoliageQuality” to 0. This will flatten out the grass for you, even if you leave “bShowGrass” as True. However, this may also affect your view distance and the quality of other objects in the game. You can find more details on how to do this in this Reddit post . Here is how to do it:
- Go to your local app data folder by typing %localappdata% in the Windows search bar and hitting Enter.
- Navigate to the FortniteGame > Saved > Config > WindowsClient folder and look for the “GameUserSettings.ini” file. Make a backup copy of the file before editing it, in case something goes wrong.
- Open the file with a text editor such as Notepad and look for the line that says sg.FoliageQuality=3. Change the value from 3 to 0 and save the file.
- Launch the game and check if the grass is flattened out for you.
This method will remove grass from the game by lowering its quality to the minimum level, making it look like a flat texture on the ground. However, it will also reduce the quality of other objects in the game, such as trees, rocks, or buildings, and it may decrease your view distance and performance. Moreover, it may not work for some players or devices, depending on their settings and specifications.
Conclusion
Removing grass in Fortnite can be a useful and interesting way to improve your gameplay, graphics, and performance. However, it can also have some drawbacks and limitations, depending on the method you use. Therefore, you should weigh the pros and cons of each method and choose the one that suits your needs and preferences best.
We hope this blog post has helped you learn how to remove grass in Fortnite using different methods and settings. If you have any questions or feedback, please let us know in the comments below. Thank you for reading and happy gaming!
